CS2 Trading Space: Stay Close Enough to Respond Without Sharing One Angle
A trade opportunity depends on timing and sightline, not simply standing near a teammate. Build a small two-player exercise that keeps the second player able to respond when the first makes contact.
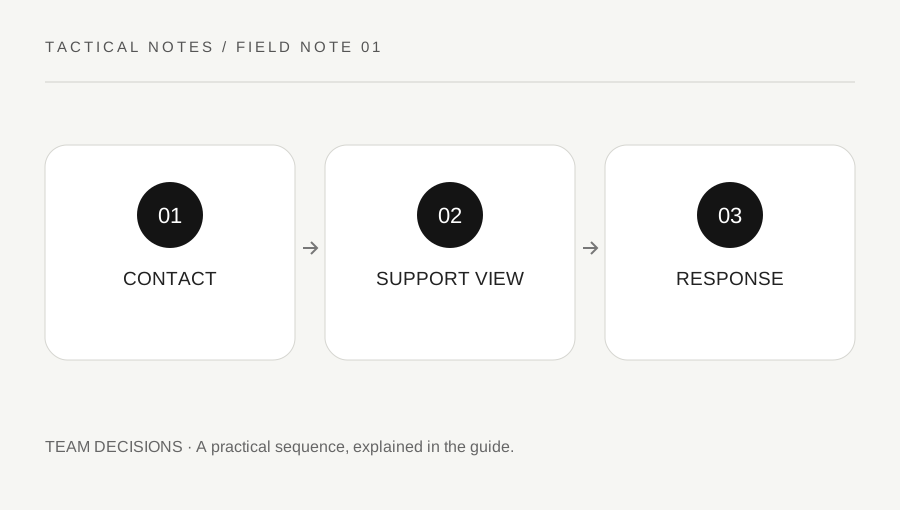
Original explanatory diagram. Examples illustrate a method or decision; they are not claims of personal testing.
Define the support the second player provides
A trading position should let the second player act on the contact made by the first. Physical closeness helps only if the relevant angle is visible and the weapon is ready. A wall, smoke or awkward corner can separate two nearby players tactically.
Avoid stacking so tightly that one burst or piece of utility affects both players without creating another view. Also avoid trailing so far behind that the encounter ends before the second player can see it. The useful spacing depends on geometry, movement and available information rather than one permanent distance.
This is an original practice framework, not a guarantee that every lost teammate can be traded. Opponents can reposition, utility can change a lane and the round objective can make a response unsuitable. The task is creating a practical opportunity, then reading whether it still exists.
Choose a simple route and name the angles
Use a supported practice or Workshop environment and one short route. Identify the first likely contact angle and what the second player can see from the intended support position. Keep the site's callout guide available if location names are unclear.
Walk the route without an opponent first. Pause at the contact point and compare both views. If the support player sees only a teammate's back or an unrelated wall, adjust before adding speed. A clear geometric check is more useful than a vague instruction to stay close.
For a worked example, the first player turns a corner while the second is still behind a narrow passage. They change the starting spacing and readiness so the second view arrives during the useful window, rather than sprinting through the same bottleneck after the first encounter has already ended.
Add a controlled contact and clear information
Use a consenting practice partner or a suitable supported scenario. The first player gives concise information about the observed opponent and position. The second responds to that information without assuming it remains perfectly current after the target moves.
Keep aim and spacing as separate observations. A missed response from a valid view is different from having no view at all. The correction should match the cause: mechanical practice for execution, route or timing changes for a missing opportunity.
Do not chase an opponent around additional corners merely because the word trade was called. The new position can expose another angle or abandon the round objective. Reassess when the visible contact is lost, and keep the team informed rather than turning support into an unsupported pursuit.
Review the contact window
After the attempt, identify when the second player could first act and when the opportunity ended. A short recording or honest reconstruction can help, provided hindsight information is not treated as knowledge available during play.
Choose one small correction: weapon ready earlier, a clearer call, different spacing or a route that preserves the support view. Avoid changing all of them at once if you want to understand which adjustment mattered. Use ordinary play and permitted practice settings.
Finish by explaining the role of each position in one sentence. A good trade setup is a changing connection between information, view and timing. It is more specific than following a teammate, and it remains useful even when the correct response is holding the position rather than crossing into another unknown angle.
A practical checklist
Choices are saved in this browser. Reset them here or clear this site’s browser storage.
Questions that come up
Does standing close guarantee a trade?
No. The relevant view, readiness and timing must connect. Nearby players can still be separated by geometry or utility.
Should I chase every eliminated teammate’s opponent?
Not automatically. The new angle and objective may make pursuit unsuitable.
Does this guide promise one ideal spacing?
No. Use the actual route and contact geometry to judge the support window.
References & scope
Background references checked on 18 October 2026. Worked examples and diagrams are original teaching material.