CS2 Bomb Plant and Defuse Decisions: Win the Objective, Preserve the Window
The bomb changes the round's priorities. Before a plant, attackers need an opportunity to place it; afterward, defenders must solve both enemy positions and the defuse window. This guide covers ordinary bomb-defusal judgement with official references reviewed on October 18, 2026. It avoids permanent timer values and kit prices because the current mode and HUD are authoritative. Valve's historical bomb-carrier learning resources are used for concepts, while the tactical examples and checklists here are original.
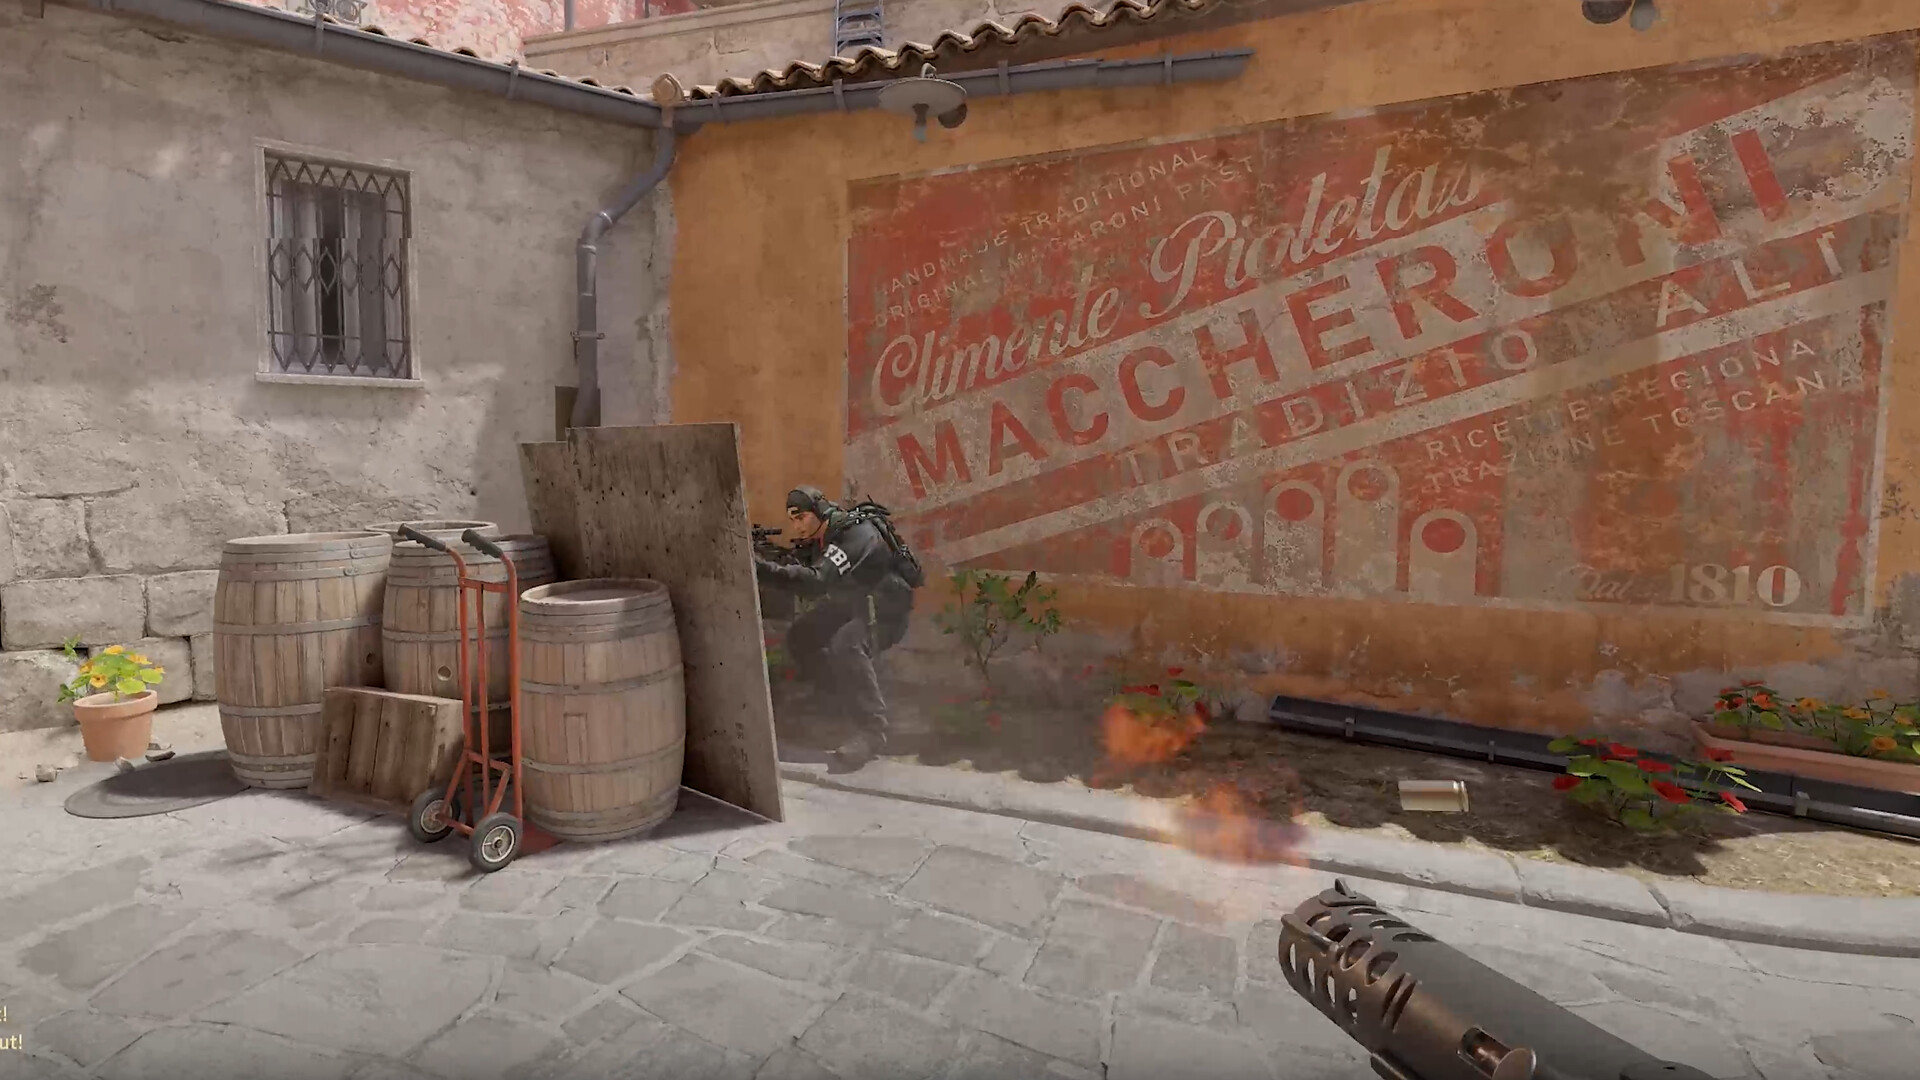
Official game screenshot · Valve. Publisher-provided public store media used to illustrate independent editorial discussion. Copyright remains with the respective rights holders; no redistribution license is offered.
Keep the bomb connected to the team plan
At the beginning of a round, know who carries the bomb and where the team intends to create a plant. The carrier should avoid unnecessary unsupported opening duels that leave the objective in an inaccessible position. That does not require hiding far behind the squad; the bomb must arrive in time to use the space created. If the plan changes, communicate where the bomb is moving. A teammate holding a distant flank cannot assume the objective automatically follows. Check the radar and current carried-item indicator before committing to a final route, especially after a chaotic exchange or an equipment drop.
Clear enough space to make the plant finishable
Entering a bombsite is not the same as controlling it. Identify close corners, elevated positions and the approach from the defending side before starting an exposed interaction. Teammates should watch the angles most likely to interrupt the planter instead of everyone looking at the same cleared doorway. Utility can reduce some threats, but confirm what it actually covers. If immediate pressure makes the chosen plant location impossible, take a safer allowed position or delay briefly while the team resolves the threat. Read the remaining round time carefully; an ideal position is irrelevant if there is no longer time to complete the action.
Choose a plant position you can actually defend
A plant location creates future sightlines. A very exposed plant may be easy for teammates to watch from distance but dangerous to complete; a sheltered one may finish safely yet require closer post-plant positions. Choose based on the space your team controls, the remaining opponents and the time available. Do not copy a standard location without understanding its purpose. Tell teammates where the plant is so they know which angles can see a defuser. If the objective is planted behind an obstacle, a distant player may need to move before they can protect it. Planning that relationship is more useful than insisting one spot is always best.
Turn the post-plant into a coordinated defence
After planting, stop thinking only about finding opponents. Take positions that can watch the bomb, support each other or delay the retake without offering isolated duels. Avoid all attackers hiding in one corner where one utility sequence threatens everyone. Communicate which approach you watch and preserve an escape from pressure when possible. If a teammate is already holding the relevant angle, consider the uncovered route instead of duplicating it. Remaining utility may buy time, but use the actual objective state and current sound cues. Do not assume a noise automatically proves a completed commitment; opponents can create information deliberately.
Retake by solving positions and time together
As a defender, confirm the site and approach with teammates when the remaining window allows it. A coordinated pair can trade; three separate arrivals often create three isolated losses. Check whether anyone has a defuse kit and communicate that fact without assuming an old rule or price. Clear positions that can stop the interaction, use utility to reduce others and identify who will attempt the defuse. The player interacting needs cover from teammates, not a group standing on the same spot. If time is too short for the required actions, recognise that honestly rather than spending the entire window arguing about who should move first.
Work through a two-player post-plant example
Suppose two attackers remain after a plant. One can see the bomb from cover; the other watches a separate entrance. If the entrance player sees a defender and chases deep into the map, the bomb watcher may be overwhelmed from two directions. A better response may be a brief call, a controlled shot and a retreat into a tradeable position. On the defending side, hearing that shot provides information but not certainty about every attacker. Regroup, assign the interaction and avoid both players checking the identical corner. The useful principle is preserving complementary responsibilities while the objective timer narrows the choices.
Review the objective opportunity that was lost
After a failed plant, ask whether the carrier was disconnected, space was not cleared or time was wasted before the interaction. After a failed defence, ask whether positions covered the planted bomb and whether unnecessary chases removed support. After a failed retake, inspect the approach timing, kit information and player assigned to interact. Do not judge only from the final shot. A round may have become nearly impossible before the last duel began. Practise the relevant map relationship in a quiet session: where a plant can be defended from and which route a retaker must cross. Then carry one clear lesson into the next match.
Your working checklist
Checkmarks stay in this browser when storage is available. They do not alter your game or connect to your account.
Put it into practice
- Confirm who carries the objective and keep it near the planned attack without unnecessary solo exposure.
- Clear the immediate plant threats and communicate the chosen location.
- After planting, hold complementary positions that can protect the objective or delay the retake.
- As defenders, approach together when feasible, identify kit availability and assign the defuse attempt.
- Review where the usable objective window was lost rather than blaming only the last duel.
Before you finish
- The plant position matches the space controlled and the teammates who can defend it.
- The planter or defuser has a watched threat angle rather than everyone sharing the same interaction space.
- Current timers and mode rules guide the decision instead of historical fixed values.
- Post-plant players avoid optional chases that remove their ability to support the objective.
Common questions
Should I plant immediately after reaching the site?
Only when the necessary space is controlled or the remaining time demands a calculated attempt. Check close threats and ask teammates to cover the interaction. Reaching the plant zone does not mean every defender has been cleared.
Is the safest plant location always best?
It may be the right choice under pressure, but consider whether surviving teammates can defend it. A location hidden from your own post-plant position may require repositioning. Balance completion safety, available time and the defence your team can realistically provide.
Should a defender always attempt the defuse?
Evaluate the current window, enemy pressure and whether the interaction can actually complete. A coordinated attempt can be necessary, but an impossible last-second action does not become useful through insistence. Make the decision from the objective state and team resources.